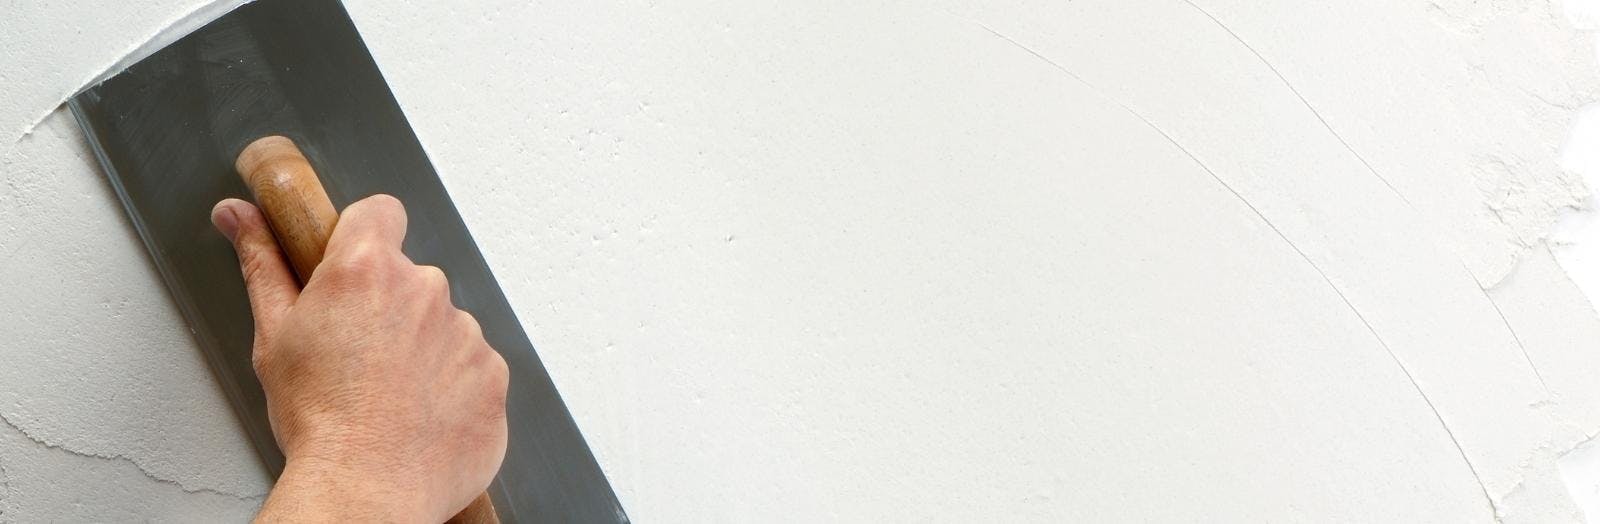
Freshly plastered walls are a great start, but the real test is how they look once painted. Taking a little extra care between plastering and decorating makes the difference between a flawless finish and a patchy, peeling mess.
Understanding drying and curing of new plaster
New plaster needs time to dry right through, not just on the surface. Rushing into painting traps moisture, which can lead to peeling, crazing or discolouration later on.
Most standard skim coats need around 5 to 7 days to dry in normal conditions, while thicker backing coats can take considerably longer. Cool rooms, poor ventilation and high humidity all slow things down.
Colour check: Fully dry plaster is a uniform pale pink or light beige, with no darker damp patches.
Touch test: It should feel room temperature and dusty, not cool or clammy.
Timing: If in doubt, wait an extra day or two before painting.
Avoid forcing the drying process with heaters on full blast. Gentle warmth and good airflow are best. Rapid drying can cause hairline cracking and weak edges around joints.
Knowing when your plaster is ready for paint
Visual checks are your first guide. Walk the room in good natural light and look for any darker clouds or streaks. These are signs that moisture is still present within the plaster.
Run the back of your hand lightly over the surface. If it feels noticeably cooler than other walls or slightly damp, it is not ready. Skirtings and corners often dry last, so look closely there.
If you have patched areas rather than a full skim, make sure the patches are fully dry and not proud of the surrounding wall. Any ridges or unevenness will show once you start painting.
Getting the mist coat right
A mist coat is a thinned first coat of paint that soaks into bare plaster. It seals the surface, evens out suction and gives later coats something to grip. Skipping this stage often leads to peeling or flashing.
Use a basic non-vinyl, water-based matt emulsion for your mist coat. Avoid vinyl silk or soft sheen at this stage, as they form a harder, more closed film that can sit on the surface instead of soaking in.
Typically, mix the paint with clean water at about 60:40 or 70:30 (paint to water), following the manufacturer’s guidance. The aim is a thinner, runnier version of your topcoat, not coloured water. Apply evenly with a roller, working it into the plaster and brushing out edges as you go.
Common mistakes include using paint that is too thick, overloading the roller so it runs everywhere, or using a shiny finish too soon. Each of these can lead to poor adhesion or an uneven sheen that is hard to fix later.
Essential surface preparation before full coats
Filling small imperfections
Once the mist coat is dry, the wall will show up minor defects you could not see on bare plaster. Lightly mark pinholes, trowel marks or small dents with a pencil as you spot them.
Use a fine surface filler for these areas, pressing it firmly into the defect and scraping back level with a filling knife. Let it dry fully, then lightly sand to blend with the surrounding wall.
Sanding safely for a smooth finish
New plaster usually only needs light sanding, but it makes a big difference to your final finish. Wrap fine sandpaper around a sanding block so you do not create hollows.
Sand gently in circular or long strokes, focusing on raised lines, ridges and filled areas. Always wear a mask and keep the room ventilated, as plaster and filler dust is fine and easily inhaled.
Cleaning dust and caulking edges
After sanding, the walls will be dusty. Wipe them down with a slightly damp, clean cloth or use a soft brush and vacuum to remove all residue. Any dust left on the surface can stop paint bonding properly.
Next, run a flexible decorator’s caulk along gaps at skirtings, architraves, window frames and where walls meet ceilings if required. Smooth the bead with a damp finger or profiling tool so it blends in. Allow it to skin over and dry before painting, checking the product for exact drying times.
Priming problem areas
Certain spots need special attention before you move to your main coats. Stained areas, high-use corners, or previously repaired patches may absorb paint differently.
Seal any water stains, nicotine marks or heavy scuffs with a suitable stain-blocking primer. On very patchy or porous surfaces, a second light sealing coat or specific primer can help levels of absorption, giving you a more even finish.
Troubleshooting common painting issues on new plaster
Patchy colour or flashing
Flashing appears as dull or shiny patches where the wall looks uneven under certain light. It is often caused by inconsistent thickness of paint, missed areas or different levels of suction across the wall.
Usually, an extra full coat of good quality matt emulsion, applied evenly, will help even things out. Make sure you keep a wet edge when rolling and do not overwork small areas.
Peeling or flaking paint
If paint peels off in sheets, it often means the plaster was still damp or the mist coat was incorrect. Gently scrape back any loose material until you reach firm edges.
Feather the edges with fine sandpaper, dust off, then spot-prime the bare areas before repainting. In severe cases, you may need to strip larger sections and start again with a proper mist coat.
Hairline cracks
Fine cracks are quite common as new plaster settles and the building moves slightly. As long as they are hairline and not structural, they can be treated decoratively.
Open the crack slightly with the edge of a scraper, remove dust, then fill with a suitable fine filler or flexible repair compound. Once dry, sand smooth, prime if needed, and touch in with paint.
Uneven texture or roller marks
Heavy roller marks or rough patches usually come from using the wrong roller, poor technique or letting paint dry while you are still working it. You may also see this where filler has not been sanded properly.
Lightly sand the affected areas to knock back the texture, remove dust, then apply another even coat with a suitable roller, working in manageable sections.
When to call in a professional
If you are dealing with widespread peeling, repeated staining coming through, or cracks that keep reappearing, it is sensible to get a professional opinion. These can signal issues with the substrate, moisture or previous coatings, not just the top layer of paint.
You might also choose to bring in a tradesperson if you want a high-end finish in key rooms such as lounges, kitchens or hallways, where any imperfections are very noticeable in certain lights.
Extensive repair work after poor DIY painting
Persistent damp or water ingress showing on new plaster
Large rooms or feature walls where a flawless finish matters
Next Steps: From Fresh Plaster to a Perfectly Finished Room
Preparing walls properly after plastering takes a bit of patience, but it saves you time and frustration in the long run. Allowing adequate drying time, applying a correct mist coat and paying attention to small details like filling and sanding will give your topcoats the best possible base.
If you need help with fresh plaster or repairs before you even reach the painting stage, you can speak to Newlook Plastering on 07710472650 or visit the plastering page to arrange expert support.
For those who would rather hand over the full room finishing, from bare plaster right through to the last coat of paint, take a look at the painting services page or call to discuss your project.