
Blog
Patch Plaster Repair: How to Fix Small Wall Damage Properly
From tiny holes to blown patches, here is how to repair plaster properly so the damage disappears once the paint goes on.
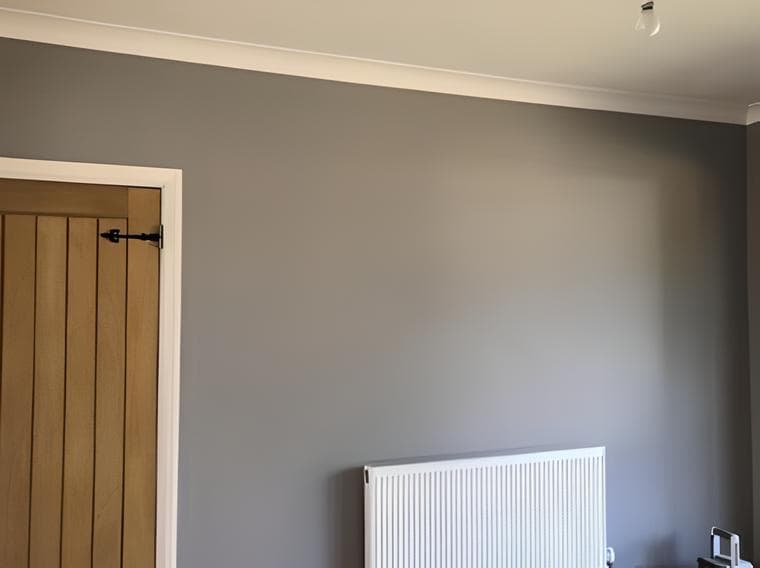
Small patches of damaged plaster can look minor, but fixing them so they disappear after painting is trickier than it seems. A neat patch repair needs good preparation, the right products and careful finishing, or the fix can look worse than the original damage.
DIY patching or should you call a plasterer?
For very small dents and screw holes, a bit of filler and light sanding is usually within DIY range. The problems tend to start when damage goes deeper, the plaster sounds hollow, or the same crack keeps coming back.
Before you grab a filler tub, check the area carefully. Some issues point straight to needing a professional rather than a quick DIY repair.
Red flags that suggest a bigger plaster problem
If you notice any of the following, it is usually sensible to pause and get expert advice before patching:
Widespread hollow sound: tapping nearby makes a dull, hollow noise, showing the plaster has let go from the background over a larger area.
Damp source: staining, tide marks or a musty smell hint at leaks or rising damp that will ruin any repair if not fixed first.
Crumbling substrate: the backing behind the plaster turns to dust or sand in your fingers, so new material will not bond properly.
Recurring cracks: the same line opens up again and again, suggesting movement, poor joints or structural issues.
Small, clean damage like a few rawlplug holes, a recent chase for a cable, or a neat break-out around a new socket can often be tackled by a confident DIYer. Once you are dealing with blown patches or suspect damp, a plasterer is usually the safer choice.
How professionals approach patch plaster repair
A professional patch repair is about more than simply filling a gap. The aim is to stabilise the area, rebuild the profile of the wall in layers and leave a surface that blends perfectly with the existing plaster.
Cutting back to solid, sound edges
The first step is to remove all loose material. A plasterer will cut or chip back the damaged area until they reach firm, well-bonded plaster and a stable background. This might make the patch slightly bigger, but it avoids future cracking and hollow spots.
Any dust is brushed or vacuumed away, and edges are squared off or neatly feathered, depending on the surrounding surface and finish required.
Controlling suction for a strong bond
Different backgrounds absorb moisture at different rates. Bare brick, old plaster, plasterboard and dusty substrates all behave differently, which is where suction control comes in.
A plasterer will usually apply a suitable primer, water or bonding agent to slow down or even out the suction. This gives the new plaster time to bond and cure properly instead of drying too fast and pulling away or cracking.
Choosing the right backing and reinforcing cracks
For deeper repairs, a bonding or undercoat plaster is used to build up the bulk of the patch. The exact product depends on the substrate, depth and location, such as behind a radiator or around a socket.
Where there are existing cracks or junctions between different materials, mesh tape or scrim may be embedded into the undercoat. This helps spread any small movements and reduces the risk of a line reappearing through the finished surface.
Building up in layers, then finishing with a skim
Instead of trying to fill the full depth in one hit, professionals usually build the repair in layers. Each coat is levelled, allowed to firm up, then lightly keyed if needed so the next coat grips properly.
The final stage is a thin finishing skim, blended into the surrounding area. This creates a smooth, continuous surface ready for decorating and makes it far easier to achieve a truly seamless paint finish.
Special care for chased-in cables and sockets
Chases for new wiring and torn plaster around sockets often need extra attention. The cut edges around the chase are tidied, and cables are set at the correct depth according to the electrician’s work.
A plasterer will usually fill the chase with a suitable backing plaster first, then skim over a wider area to blend the repair into the wall. Around sockets, the plaster is carefully brought tight to the accessory so there are no gaps, ridges or messy edges once the faceplates go back on.
Making patch repairs disappear after painting
The difference between a passable patch and a repair you cannot spot lies in the decorating stage. Rushing to paint too soon or skipping preparation often leaves a shiny square or visible ridge in the middle of the wall.
Feathering edges and drying fully
A well-made repair is slightly feathered into the surrounding surface so there is no hard step at the edge. Any remaining nibs are gently sanded once fully dry, using a fine grit to avoid scuffing the original plaster.
New plaster or deep repairs must be given proper drying time before painting. Painting too soon can trap moisture, cause flaking or show dark, patchy areas that take ages to even out.
Mist coats, fillers and when plaster is best
Before full-strength paint goes on, a mist coat of thinned emulsion is usually applied to bare plaster. This seals the surface more evenly and helps highlight any tiny imperfections that might need a light fill and sand.
For hairline surface marks, a fine filler can be enough. For larger or deeper areas, staying with plaster gives a more stable, consistent surface that behaves like the rest of the wall, especially in older properties.
Getting a seamless patch repair finish
If your wall has only a few pin holes or minor dings, careful DIY filling and painting can work well. When you are facing blown patches, chased-in cables, torn plaster around sockets or recurring cracks, a professional repair is usually the best route to a seamless result.
Newlook Plastering specialises in neat, paint-ready patch repairs that blend into your existing walls and ceilings. To request a plaster repair visit, you can call 07710472650 or use the Plastering and Contact pages to get in touch, and for more detail on waiting before you decorate, take a look at our drying-times article before you pick up the roller.
Other Articles


