— Blog
How Long Does Plaster Take to Dry? A Homeowner Guide
Clear timeframes and simple checks so you know when your new plaster is ready for decorating.
Fresh plaster transforms a room, but decorating too soon can ruin the finish. Understanding how long plaster takes to dry, and what affects it, helps you avoid peeling paint, hairline cracks and patchy walls.
Typical drying times for different plaster jobs
Drying time is not the same as setting time. Plaster may set firm within hours, but it can take days or even weeks to dry fully before painting is safe.
Patch repairs and small areas
Small patch repairs, such as filling holes or chasing in cables, usually dry faster than full walls. As a rough guide, allow:
Small patches: 24 to 72 hours in normal conditions
Medium areas (up to 1 m²): 2 to 4 days
Deeper or thicker repairs: up to 7 days or more
If the patch is deep, the plasterer may build it up in layers. Each layer adds to the drying time, so be patient before decorating.
Full skim coats on existing walls
A skim coat is a thin layer of finish plaster applied over existing plaster or a prepared surface. For a typical room skim, expect:
Standard rule of thumb: around 5 to 7 days for a full skim to dry in average conditions, sometimes up to 10 days in cooler or more humid rooms.
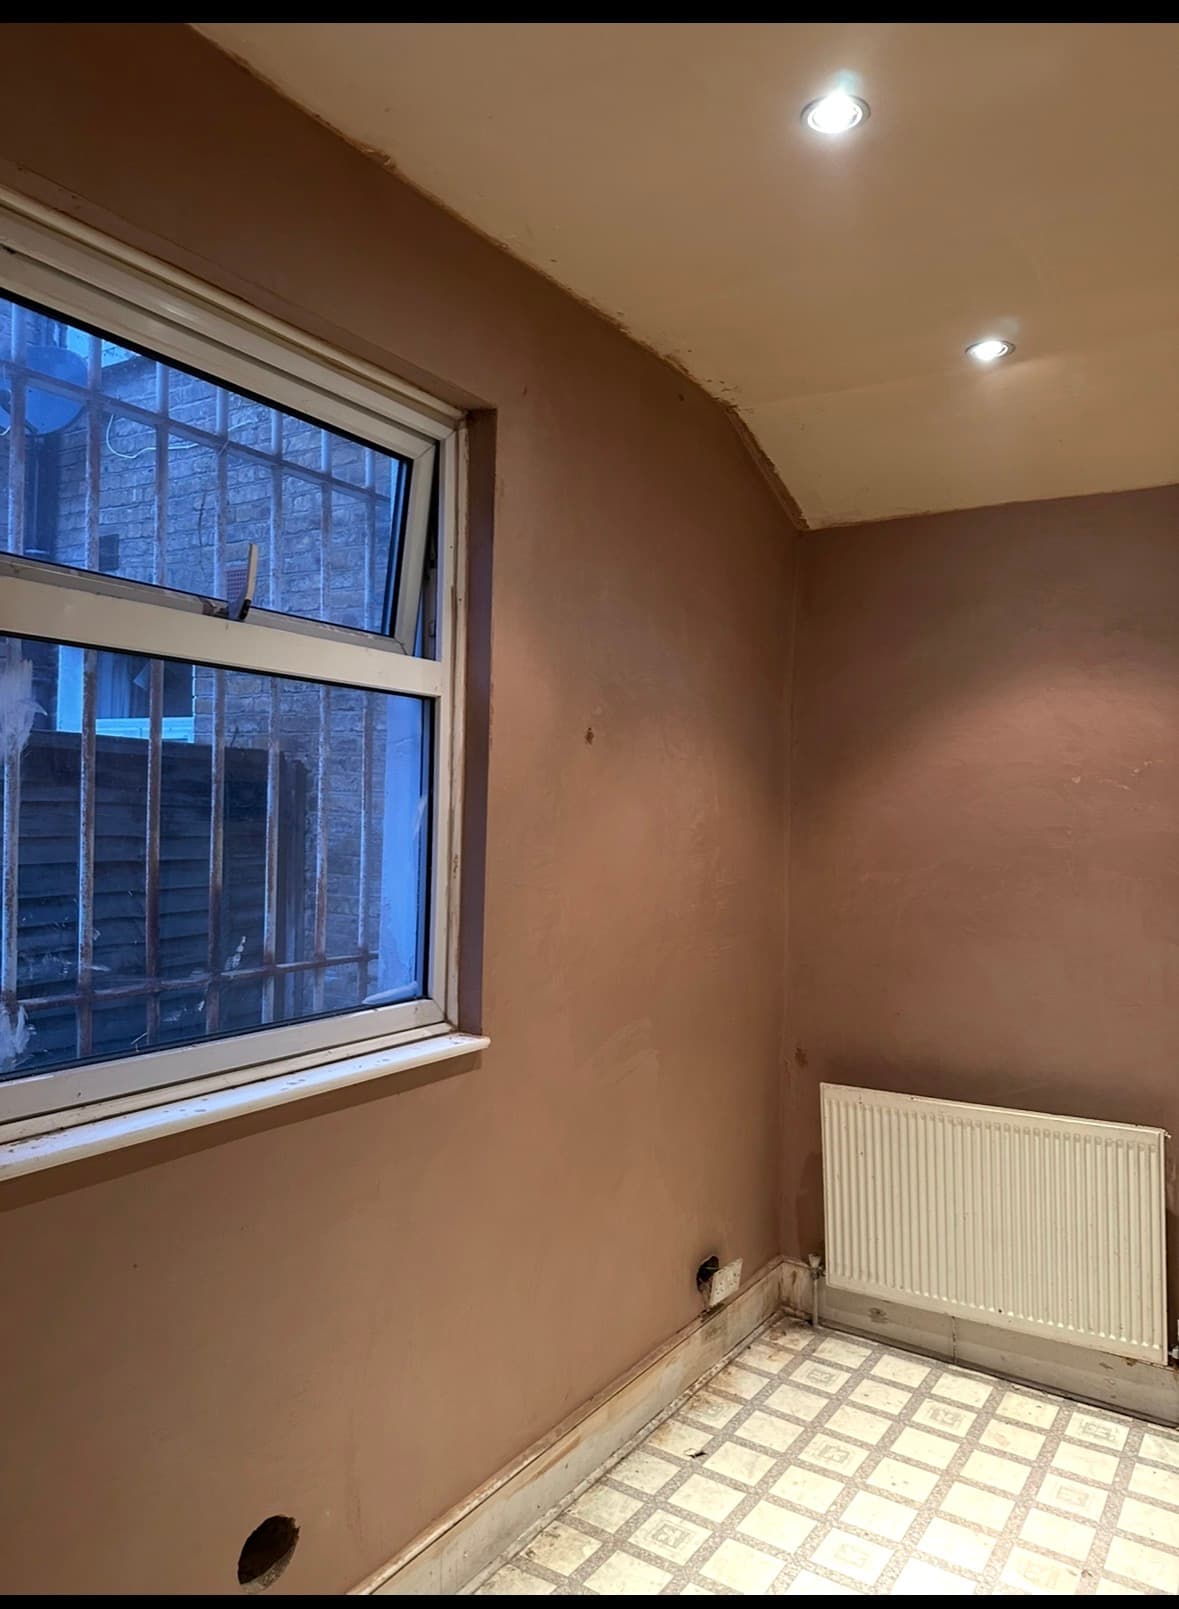
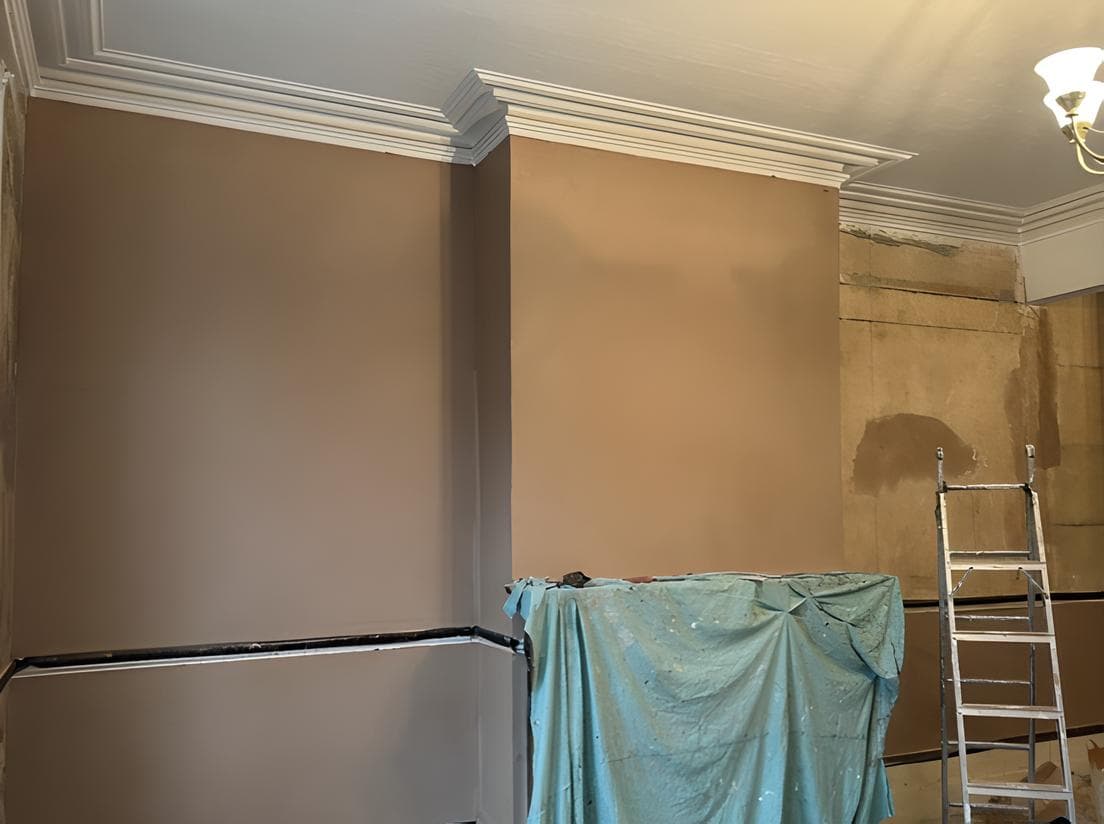
You should wait until the skim has turned from a dark terracotta colour to a consistent, pale pink before painting.
Bonding / undercoat plaster vs finish plaster
Undercoat plasters such as bonding or browning are applied thicker than finish plaster, so they usually take longer to dry. Common ranges are:
Undercoat plaster: 5 to 14 days depending on thickness, background and ventilation. Deep dubbing-out can take longer.
Finish plaster: usually 2 to 4 days per skim layer, but applied together with the undercoat it is best to work to the longer undercoat timeframe overall.
Skim on plasterboard
Plasterboard has good suction and often dries slightly quicker than old, dense backgrounds. For a standard 2-coat skim on boards, allow:
Typical drying time: 4 to 7 days for most rooms, longer for large ceilings or cooler spaces.
Fresh skim on ceilings can take a bit more time, as warmer air and moisture tend to collect at the top of the room.
Main factors that affect plaster drying time
Every property is different, so treat any time frames as guides rather than fixed rules. Several conditions change how fast plaster dries.
Room temperature and background warmth
Plaster dries best in a steady, mild temperature, typically around 18 to 22°C. If the room is too cold, moisture lingers in the plaster. If it is extremely hot, the surface can dry too quickly and be more prone to cracking.
Unheated rooms, extensions, or areas close to external walls may need longer before they are ready for decorating.
Ventilation and humidity
Moisture needs to escape, so gentle airflow helps. However, strong draughts or wide-open windows on a cold, damp day are not ideal.
High humidity, such as in bathrooms or during wet weather, slows drying. In these spaces, be more cautious with your timeframes and visual checks.
Thickness and background suction
Thicker coats contain more water and naturally take longer to dry. Undercoat plaster applied to level uneven walls will always need more time than a simple skim.
The surface behind the plaster also matters. High suction backgrounds, like bare brick, can draw moisture out quickly, while dense surfaces, like painted walls, slow things down unless properly prepared.
Safe rules of thumb for knowing plaster is dry
Time is one guide, but appearance is just as important. A few simple checks will help you avoid decorating too early.
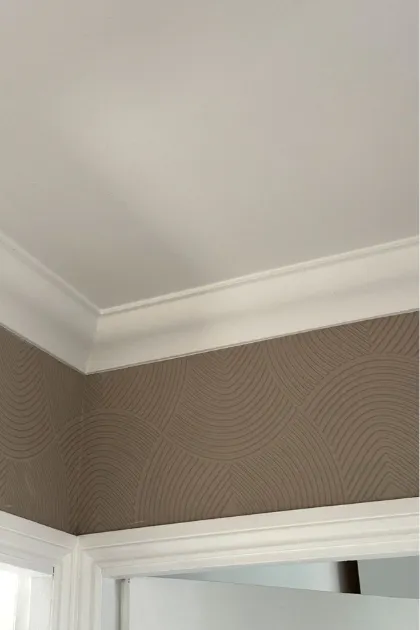
Colour change: Fresh plaster is dark and patchy. As it dries, it turns a lighter, even pink or buff colour. Any dark, damp-looking patches mean it is not fully dry yet.
Touch test: Dry plaster feels cool but not cold or clammy. Do not press too hard, just lightly touch with the back of your hand.
Condensation check: If you are still getting heavy condensation on windows after the plastering work, there is probably a lot of moisture left in the air, so give it extra time.
Looking after plaster while it dries
How you treat your room after plastering makes a big difference to the final finish. Manage heat and airflow gently, and avoid trying to rush the process.
Step-by-step checklist: what to do
Day 1–2: Keep windows just slightly open for gentle ventilation, especially in warm weather.
Maintain steady heating: If it is cold, set the heating to a low, consistent temperature rather than on and off bursts.
Keep the room clear: Move furniture away from walls to let air circulate freely.
Wipe light condensation: If moisture gathers on windows, wipe it away to help the room dry out.
Monitor colour: Wait until the plaster is uniformly pale before you think about mist coats.
What not to do while plaster dries
A few common mistakes can cause cracking, weak surfaces or paint that fails to bond properly.
Do not blast with intense heat: Avoid turning radiators up full or pointing fan heaters directly at new plaster. Rapid drying can lead to crazing and weak edges.
Do not run a dehumidifier on full power on day 1: If you use one, keep it on a gentle setting and only after the first couple of days, so the surface does not dry too quickly.
Do not seal or paint too soon: Painting over damp patches traps moisture and often results in peeling or powdery paint. Always wait for an even, pale finish before applying a mist coat.
Do not block airflow: Leaning mattresses, wardrobes or stacks of boxes against freshly plastered walls slows drying and can create stubborn damp patches.
When to call a plasterer
Some issues are normal, such as very fine hairline cracks that can be filled before decorating. Others suggest there is a problem that needs a plasterer to assess it.
Signs your plaster needs professional attention
If you notice any of the following after a reasonable drying period, it is worth getting expert advice:
Persistent dark or damp patches: Areas that never seem to lighten may indicate trapped moisture, poor suction, or an underlying dampness issue.
Extensive cracking or crazing: A network of small cracks or larger, open cracks can point to movement, over-rapid drying, or incorrect application.
Powdery or chalky surface: If the surface brushes off easily or feels soft under light pressure, the plaster may not have bonded or cured properly.
Next steps and getting expert help
Allowing plaster to dry fully is the best way to protect your decorating budget and keep your walls looking sharp for years. If you are unsure whether your plaster is ready for painting, or you are seeing any worrying signs, it is better to check than to cover problems with paint.
For professional plastering, repairs or a skim assessment in your home, contact Newlook Plastering on 07710472650. You can also speak to the team about plastering services and get tailored advice for your property.
— Other Articles